Lighthouse Monthly Dashboards – Sticker or Vellum | Size Options
Lighthouse Monthly Dashboards – Sticker or Vellum | Size Options
Couldn't load pickup availability
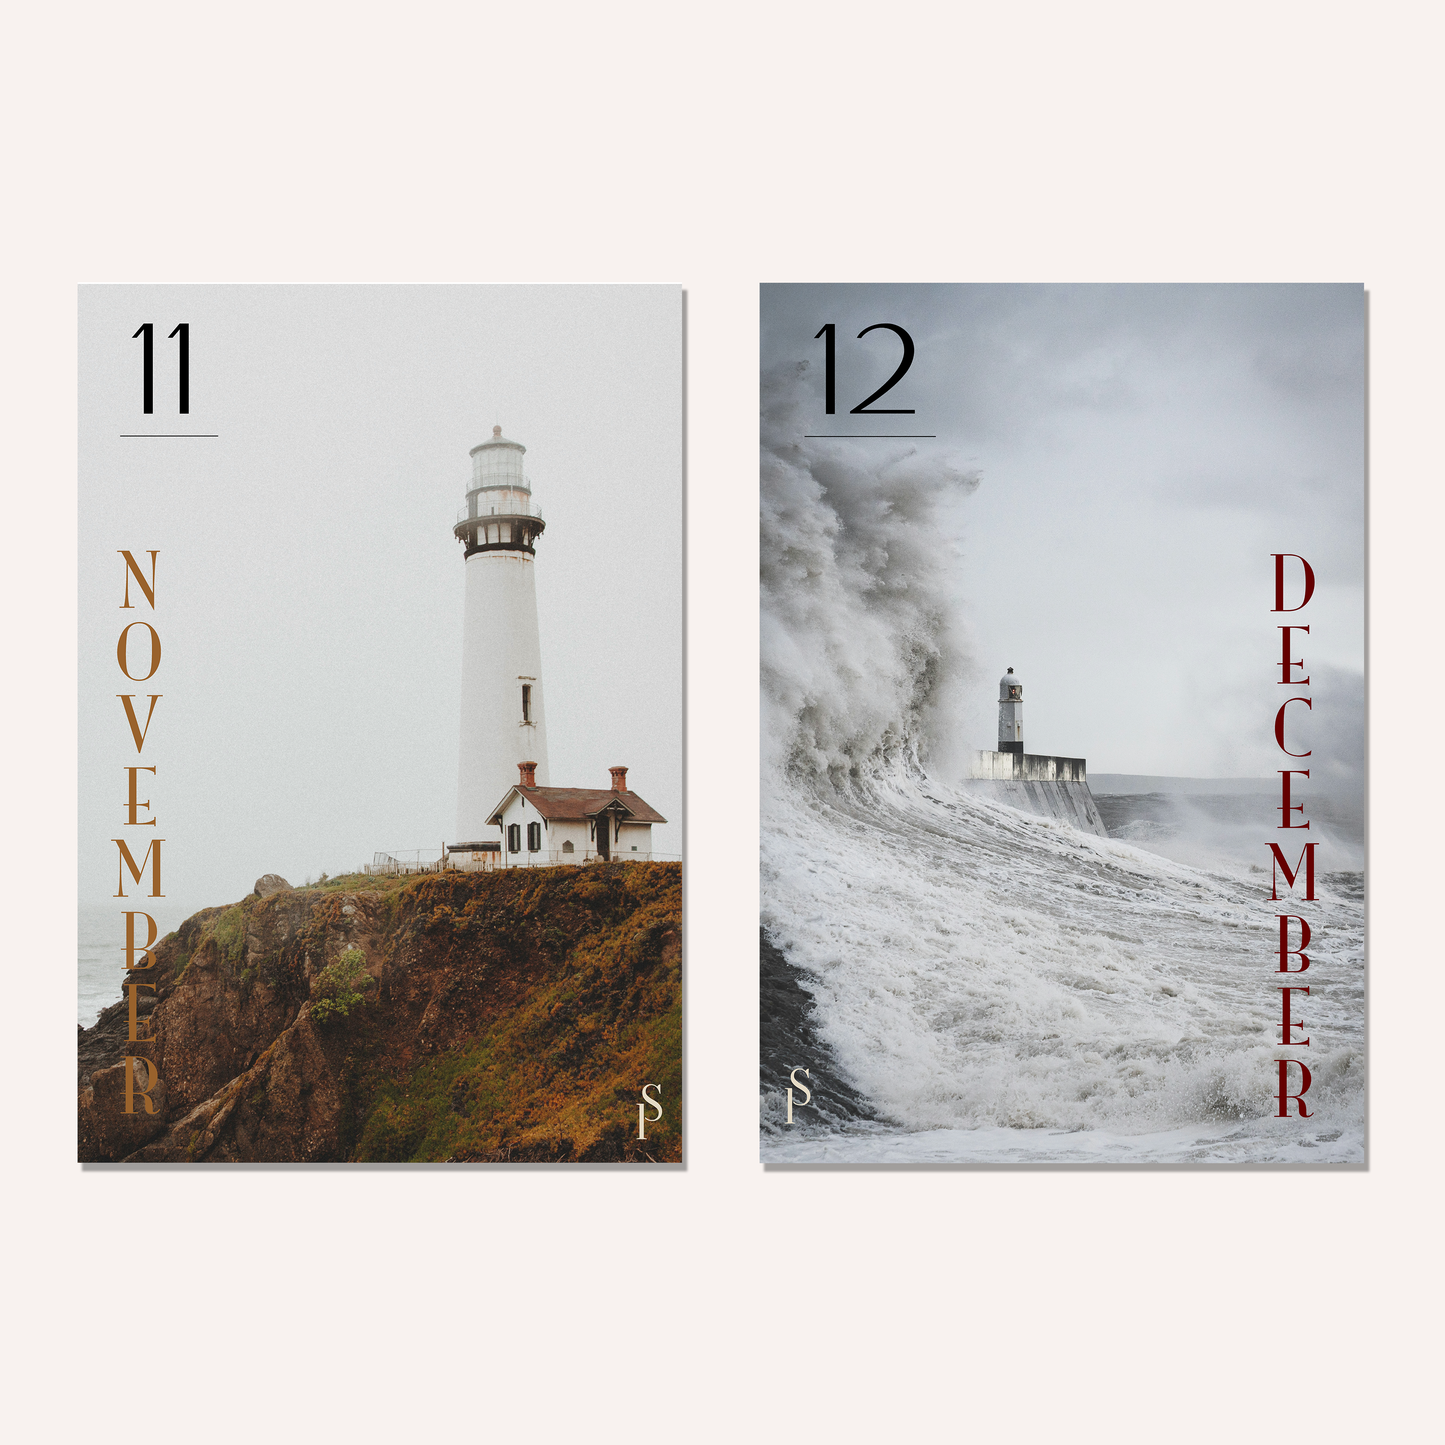
A fresh take on planner dashboards — celebrate each month with a stunning lighthouse photo, beautifully designed to bring calm and seasonal charm to your planning space.
Available as a large sticker or high-quality vellum insert to suit your unique planning style in a 12 month bundle. If you'd like a single dashboard, see this listing
PRODUCT OPTIONS
Washi Sticker: Semi-transparent, kiss-cut, and ready to place on any blank planner page
Premium Matte Sticker: Opaque white matte for vibrant printing and a clean finish
Vellum Dashboard: Printed on luxurious 111gsm vellum – available punched or unpunched, with optional rounded corners
Stickers are one full-page piece with permanent adhesive. Vellum dashboards are non-adhesive inserts.
FEATURES
Thoughtfully sized to serve as a monthly cover, dashboard insert, or decorative divider
Printed on:
Semi-transparent washi sticker paper
Premium white matte sticker paper
High-quality 111gsm vellum
Permanent adhesive (for sticker versions) ensures lasting placement
Available individually or as a 12-month bundle
AVAILABLE SIZES
- B5: 182mm x 257mm
- A5: 148mm x 210mm
- A5 Slim: 130mm x 210mm
- Half Letter: 5.5" x 8.5"
- B6: 128mm x 182mm
- B6 Slim: 110mm x 182mm
- A6: 105mm x 148mm
- TN-N1 (Standard Travelers Notebook): 110mm x 210mm
- Weeks-N2: 95mm x 186mm
- Custom Size: Just choose “Custom” and leave a note with your planner details — I’ll resize it just for you.
Sticker sizing: 10mm smaller than page size (to avoid overhang and give some alignment wiggle room). Vellum sizing: 1mm smaller than page width for a seamless fit in bound planners. Want full-size vellum? Just leave a note at checkout!
IMPORTANT NOTES
Recommended for paper use only
Handmade with care — slight variations or minor imperfections may occur, but each sheet is crafted to be as perfect as possible
Application Tip (Sticker Version):
Align from the top or bottom, peel back just a small section of the backing at first. Gently smooth as you go to avoid wrinkles or rolling.
Share